In partnership with: 

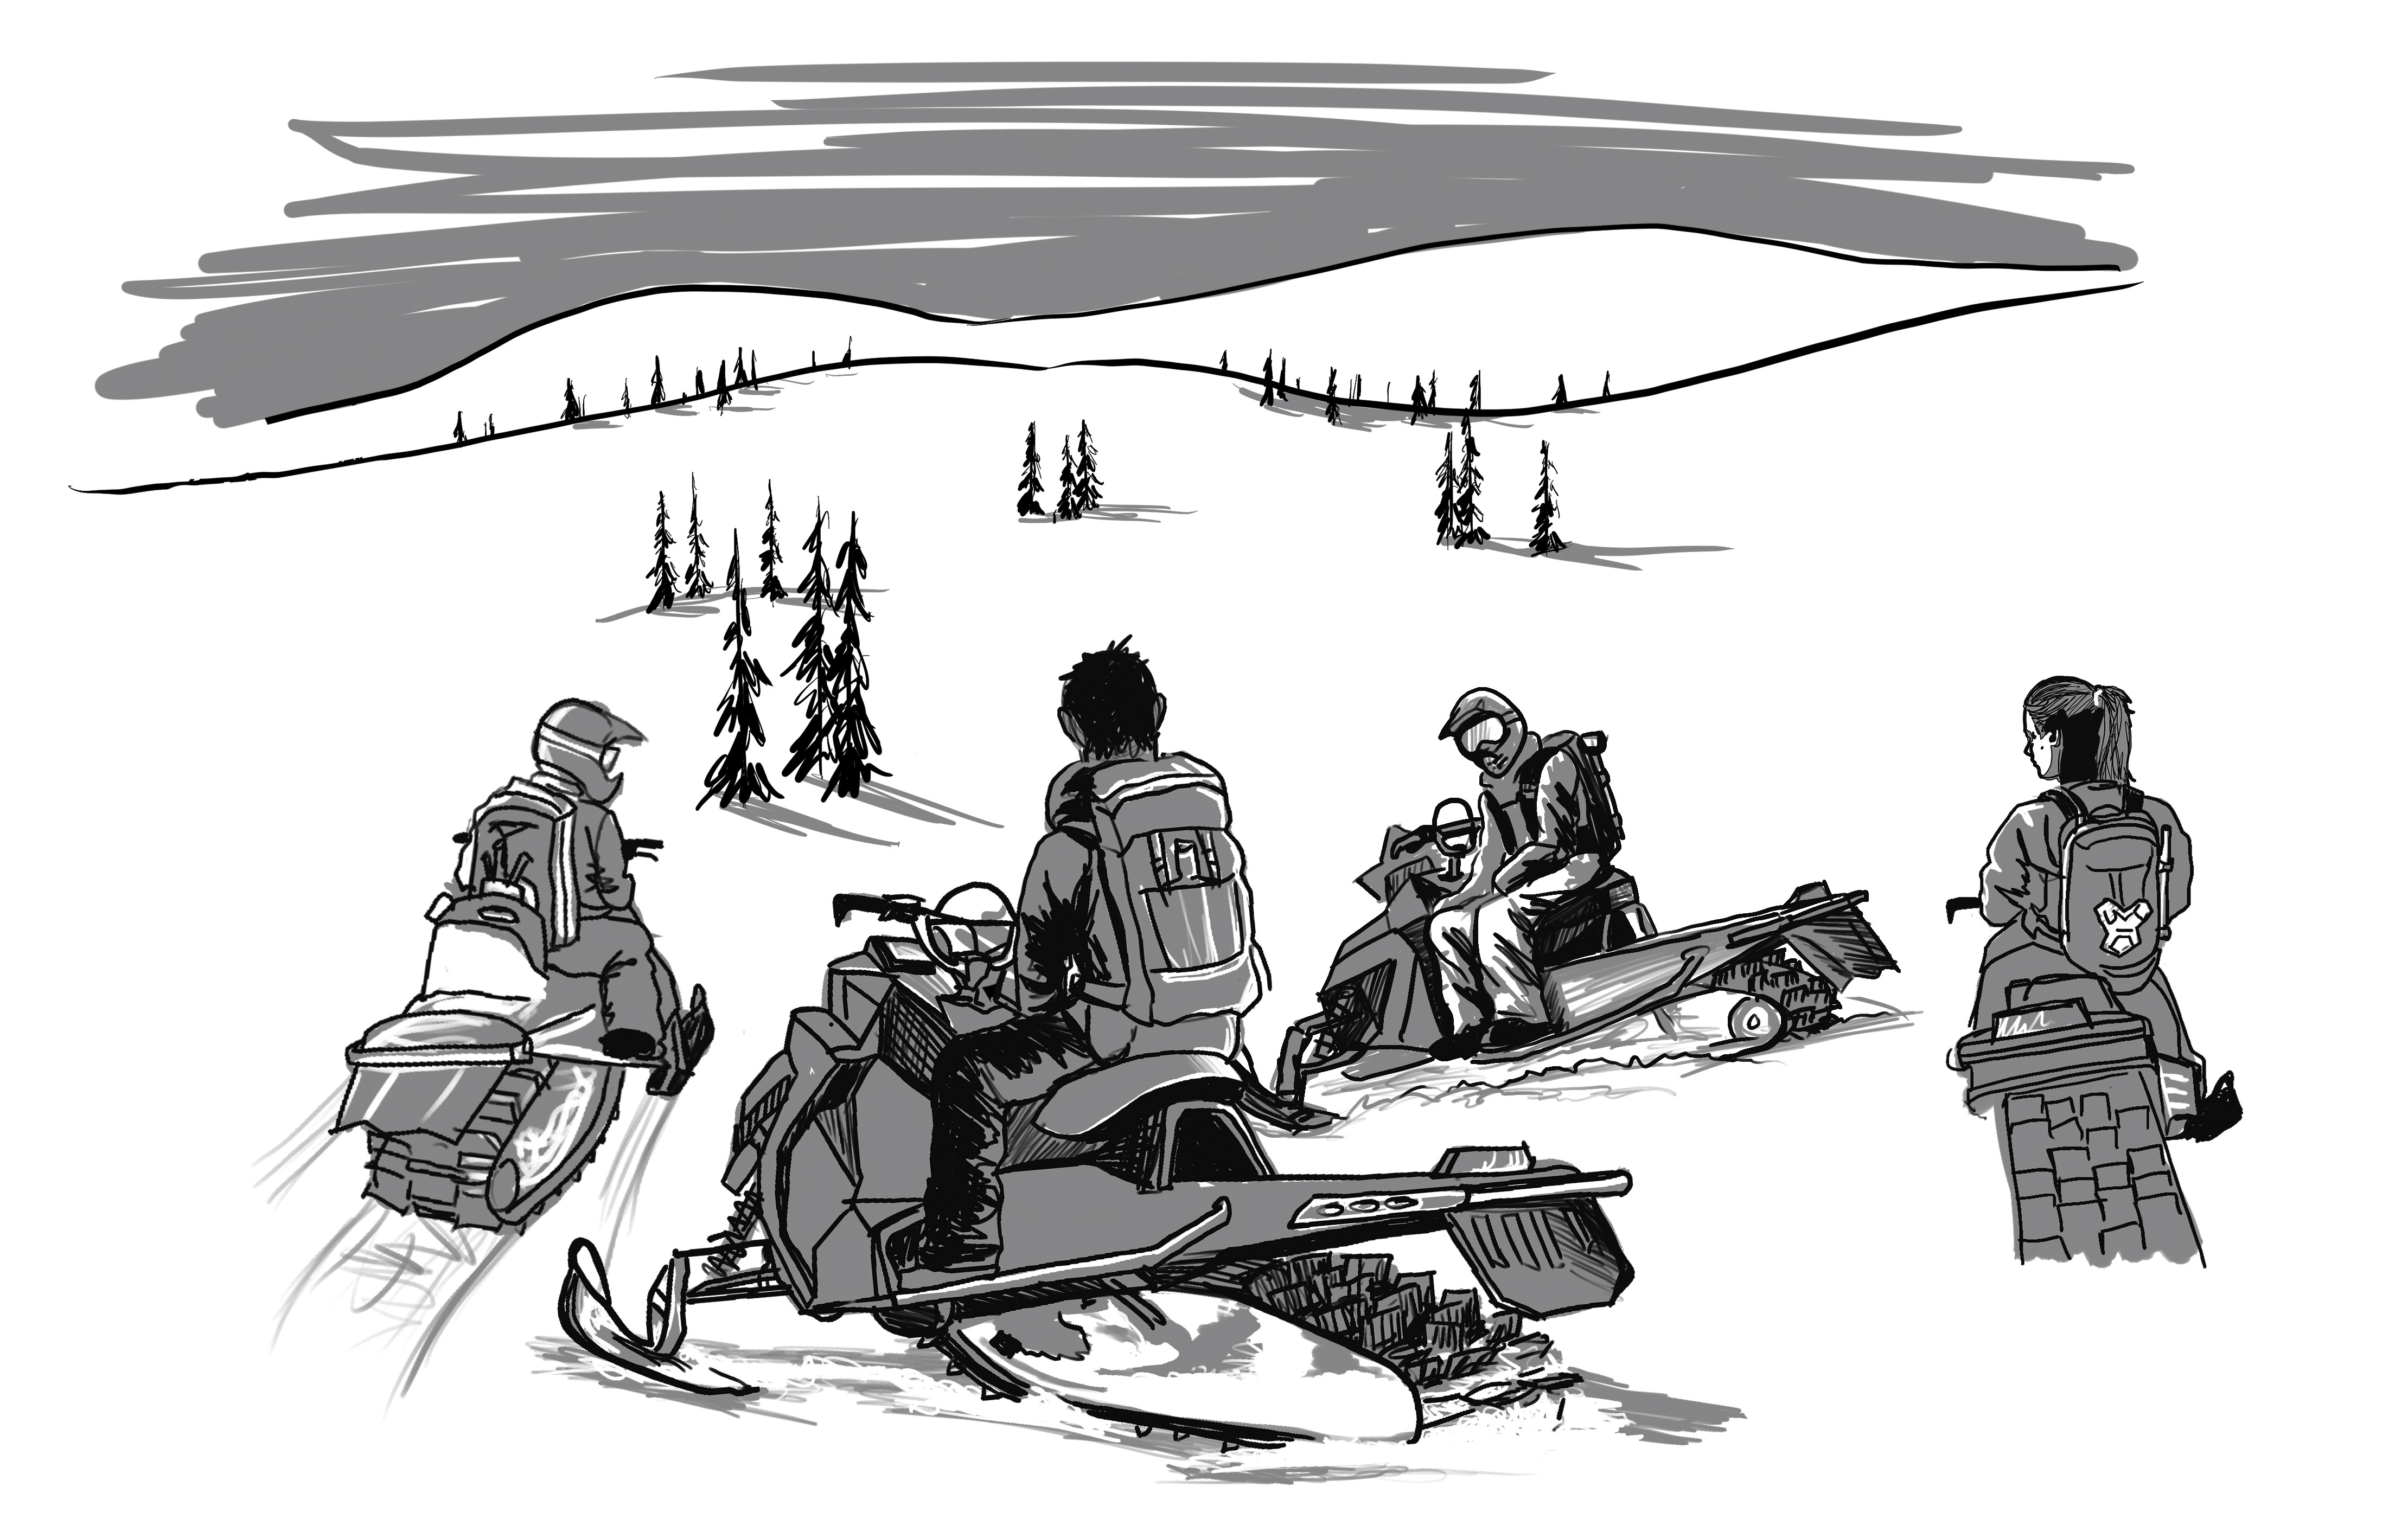
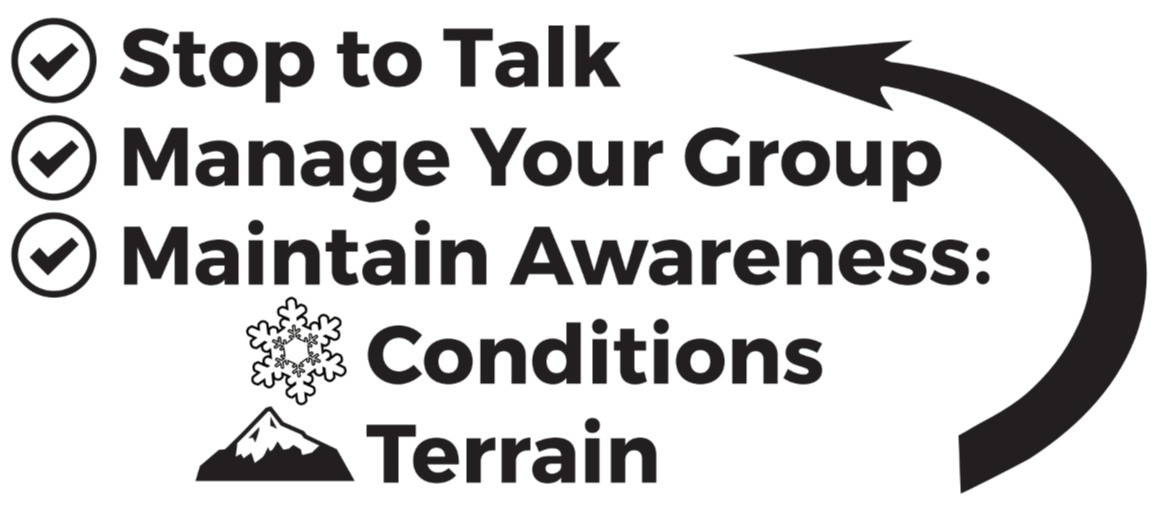
All the planning done before you leave would go to waste if you don’t occasionally stop to talk once you’re out on the snow. Your typical day probably already has several stops to catch your breath, take in the views, have a snack, change gloves, etc. To follow the Daily Flow, take advantage of these stops to talk with your partners about conditions, terrain, and group management. These stops can be timed to coincide with natural transitions during the day, including the following:
Note that the best way to reduce risk is to avoid avalanche terrain entirely, and you should always consider this as an option. If you do choose to proceed, make sure that everyone acknowledges the risk (uncertainty, exposure, and consequence) and agrees to it.
At the trailhead you should review your plan, discuss group management for the first part of the day, and check emergency gear. Although it’s tempting to do this casually, with one person walking from vehicle to vehicle as everyone else prepares, this allows too much room for error and sets a bad precedent for the rest of the day. Instead, make this dedicated and organized, with everyone together for face-to-face communication. Go a short distance from distractions if the trailhead is crowded or noisy. Don't go too far in case you discover any issues that require going back.
Review the anticipated conditions, your safety margins (it's worth repeating these now in case you're forced to change other parts of your plan), and route options including turn around and return times. Make sure everyone clearly understands and agrees to these details.
Discuss group management [insert link to manage your group] for the first part of the day. Preview the route up until your next stopping point, and agree to the spacing and spotting techniques you’ll use to get there. Because most trailheads are in non-avalanche terrain, typically this first leg of the day will also be through non-avalanche terrain. Plan to stop for another talk before you enter avalanche terrain, if not sooner.
Check emergency gear before leaving the trailhead, where you may still have access to spare batteries or other equipment if you need it. Begin with a radio check. It can be tempting to deal with radio issues later, but address them now. Then verbally confirm that everyone has their non-avalanche related gear.
If you're at all uncertain about your partners' avalanche gear (new partners, or the first day of the season or of a road trip), you may want to perform an avalanche gear drill. On the count of three, everyone assembles their probes and shovels and places them upright into the snow, closes packs or vests and puts them back on, with beacons on “search” and held at the ready. This is an opportunity to practice getting the gear ready quickly, and also to see that everyone actually has it. If you've already done this drill recently, verbally confirm that everyone has their shovels and probes.
However, a thorough beacon check is always necessary. To perform the beacon check, follow these steps:
With practice, this beacon check takes little time. There are some variations that suggest having your partners move past you as you check them (the fourth bullet point above), to segue into the first leg of the day. This can work quite well for non-motorized users, but motorized users should avoid it - the electronic interference introduced by a running motor can render this style of beacon check useless, and some machines still produce interference even after the motor is off.
Before entering non-avalanche terrain, stop to preview the terrain ahead and use the Terrain Alerts to confirm it really isn't avalanche terrain. Review the conditions you’ve observed so far, using the Conditions Alerts, and discuss what you expect to encounter moving forward. Clearly identify boundaries, non-avalanche hazards, group management techniques, and your next stopping point.
 Boundaries are necessary to establish - even non-motorized users going slowly on an uptrack should do this. Whenever possible, use obvious terrain features or landmarks as “handrails” to define the boundaries. Linear handrails are helpful, like creeks, ridgelines, roads or trails, and distinctive patterns in tree cover. Vague handrails, or handrails that are difficult to communicate or observe, are potential sources of uncertainty that could increase exposure and/or compromise group management.
Identify any non-avalanche hazards, like open water, deep holes, drainages with abrupt transitions, cliffs, and tight trees. Some people will gravitate towards these features on purpose, so make sure if this is the case that everyone agrees to it and it's factored into your group management. Otherwise, identify these hazards as places to avoid.
Determine the group management techniques you’ll use to reduce exposure to non-avalanche hazards and consequences of errors. These are discussed in detail in the next section, Manage Your Group. Don’t make assumptions about group management just because it's non-avalanche terrain - this is a common error, especially for motorized users.
Establish your next stopping point, including a rough time estimate to get there. Choose a natural transition, like when gaining a ridgeline, entering a new drainage, or crossing a handrail like a road or trail. Make sure you stop again before entering avalanche terrain.
Before entering avalanche terrain, stop to look ahead and decide if it fits within your safety margins. Then use the Conditions Alerts and Terrain Alerts to discuss with your partners if you should proceed. As with non-avalanche terrain, identify boundaries, hazards, group management techniques, and your next stopping point.
The more conditions alerts that are present, the more terrain alerts you should avoid. Resist the temptation to create yes/no thresholds by adding up items from these checklists. They are intended to help you maintain awareness and to promote discussion among your group, not for rule-based decision-making.
As the day progresses, it can become repetitive to discuss the same conditions over and over again at every stop. Instead of going through the Conditions Alerts checklist item by item, you can focus your attention on only those things that have changed. However, don’t skip this step under the assumption that they remain static for the day - your partners may have seen something you didn't.
If your group decides to proceed, use the Terrain Alerts checklist to identify where avalanches might be triggered, where they might flow, and where consequences would be increased by terrain traps. Based on this, agree on where to go and where to avoid. Discuss boundaries, non-avalanche hazards, and your next stopping point. Use similar guidance as with non-avalanche terrain, but on a smaller scale since this terrain represents some degree of exposure and requires tighter group management.
Wrap-up by determining the group management techniques you’ll use. These are discussed in detail in the next section, Manage Your Group. However, two techniques are so vital they deserve mention here as well:


This website is owned and maintained by the non-profit arm of the Sierra Avalanche Center. Some of the content is updated by the USDA avalanche forecasters including the forecasts and some observational data. The USDA is not responsible for any advertising, fund-raising events/information, or sponsorship information, or other content not related to the forecasts and the data pertaining to the forecasts.